Originally I thought the intercooler would be a quick and cheap project I could simply throw money at.. I was wrong. The sizes I could find were either too small or too large. The issue of exits being incorrectly placed was not a major issue.. So what was?
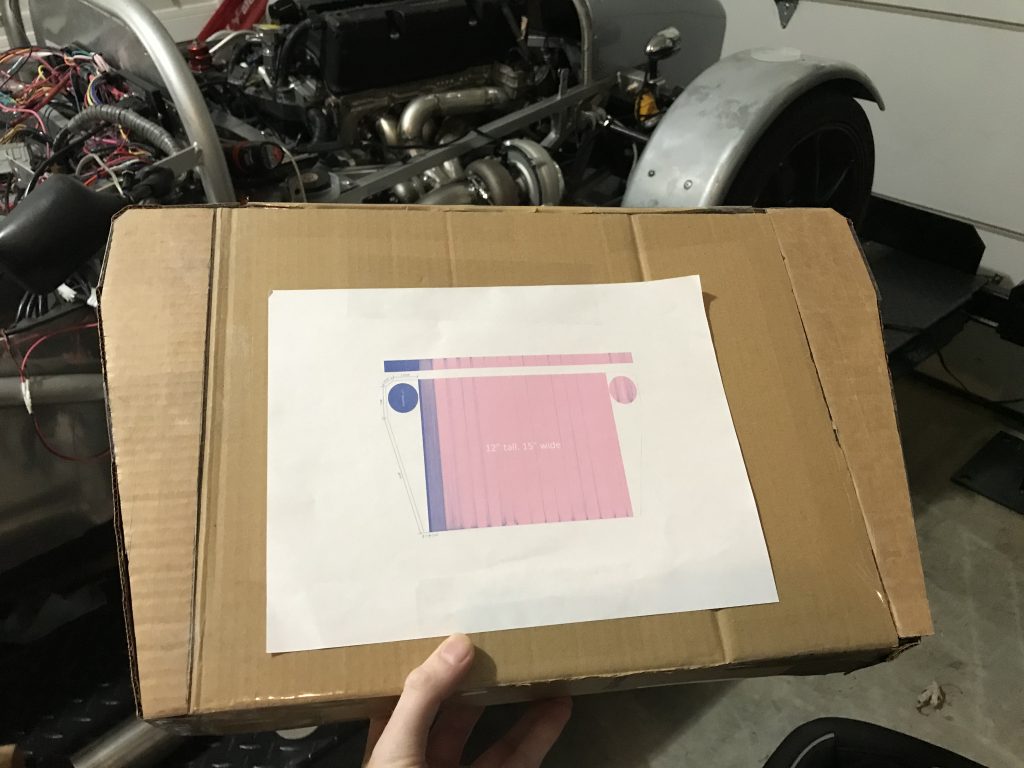
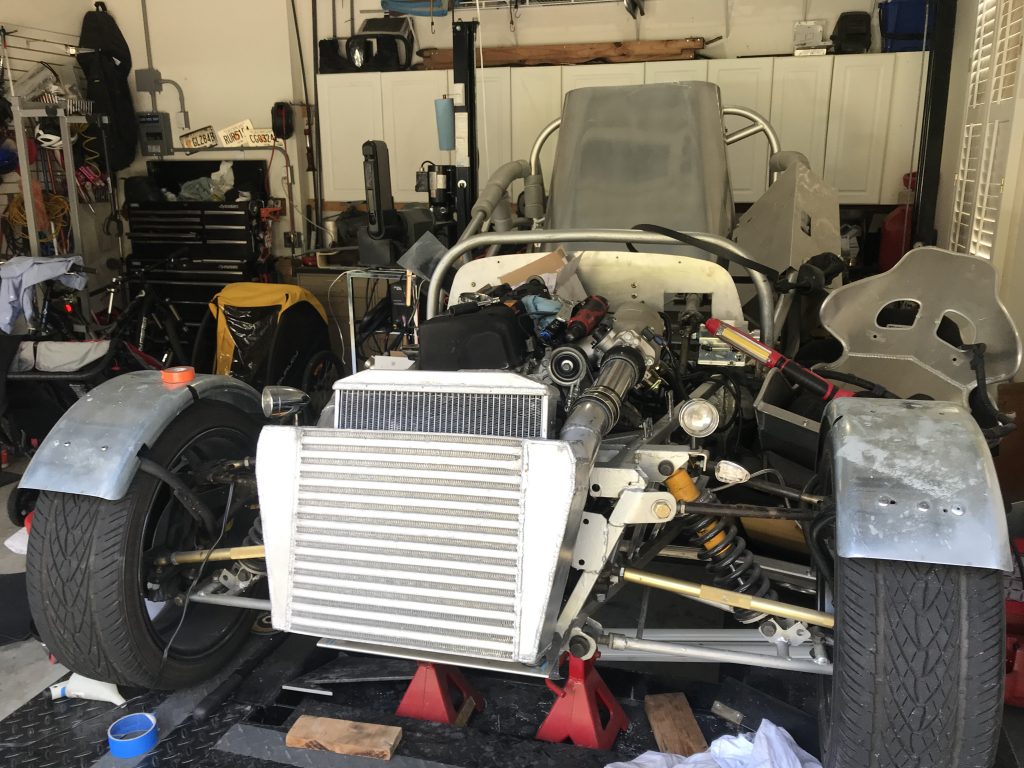
I wanted the intercooler to be placed in front of the radiator but also not block any more surface area with end tanks than needed. The solution? I turned to CAD- Cardboard aided design! I used the dimensions of a Garrett intercooler core and worked out how big I could make the end tanks to fit.

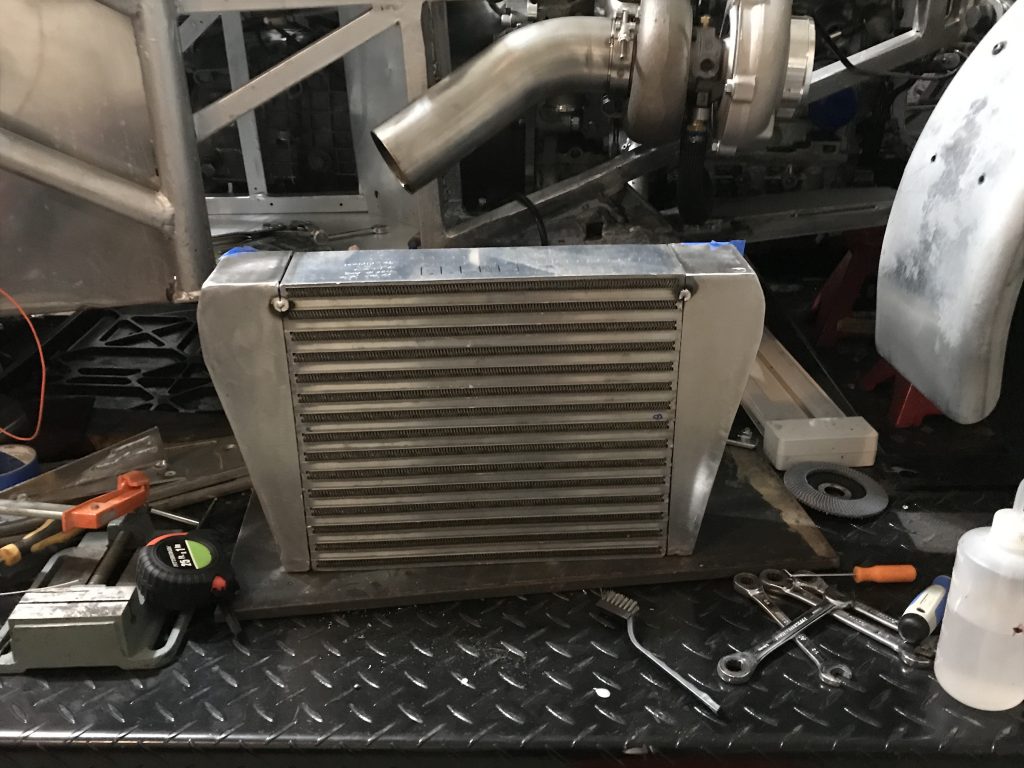
The CAD model was perfect and I was able to remove the pieces and lay them out in some 1.8″ 5052 Alumunium. After some cutting and tacking we had a pretty great looking intercooler! I fired up the Primeweld 225 and went to town. Things were going very well!

Until the pressure test… After several attempts to find the leak I kept on chasing an area between the core and the end tank. I would grind it down and reweld it a few times. Eventually I got frustrated and took it to a radiator repair place and they verified what I couldn’t believe- the core was leaking but in an area that would require the end tanks cut off and welded. After talking to the company I bought the core from they told me that Garrett was not being helpful and “they were truly sorry.” I won’t buy anything from Garrett again and had to cut off the tank, fix the core and then weld it again. Visually it doesn’t look as good as it did originally and I am going to hold a grudge on this one!

The end result should work well. The end tanks do not block the radiator and it appears to work well. One more project in the books!
